Hello everyone!
It’s the lockdown period in India. The ongoing weeks are really crucial, we’re all at home, thankful for 3 meals a day and to be with family! But keeping that aside, let’s focus on the small pleasures of life – cooking! Lately, I have been in the kitchen, clearing the fridge, planning groceries, meals etc. because tough times calls for tough decision makings!
Coming back to the purpose of this blog. As the title suggests, this is a recipe blog! Our first attempt at it, that too with Chicken Biryani 🙂
So, on the auspicious occasion of Poila Baishakh or 14th of April, which is the Bengali New Year, Swarnava shared a picture of the Chicken Biryani. Everyone loved it so much, and requested for the recipe. So, here we are!
Please note, I am not a recipe blogger. I don’t understand measurements, I do not have step by step pictures because this blog wasn’t planned, but i’ll try nonetheless 🙂
Step 1: Marinate the chicken
I took 6-8 pieces of medium sized chicken, with bones. Added 4 spoons of curd, half spoon of red chilli powder, half spoon of coriander powder, half spoon of turmeric, one spoon of kewra water, one spoon of rose water, two spoons of ginger garlic paste, one spoon of garam masala powder, and one spoon of chaap powder (I make this at home by grinding sha jeera, sha morich, jaifol, javitri) and salt. Marinated it with for 24 hrs in the refrigerator.
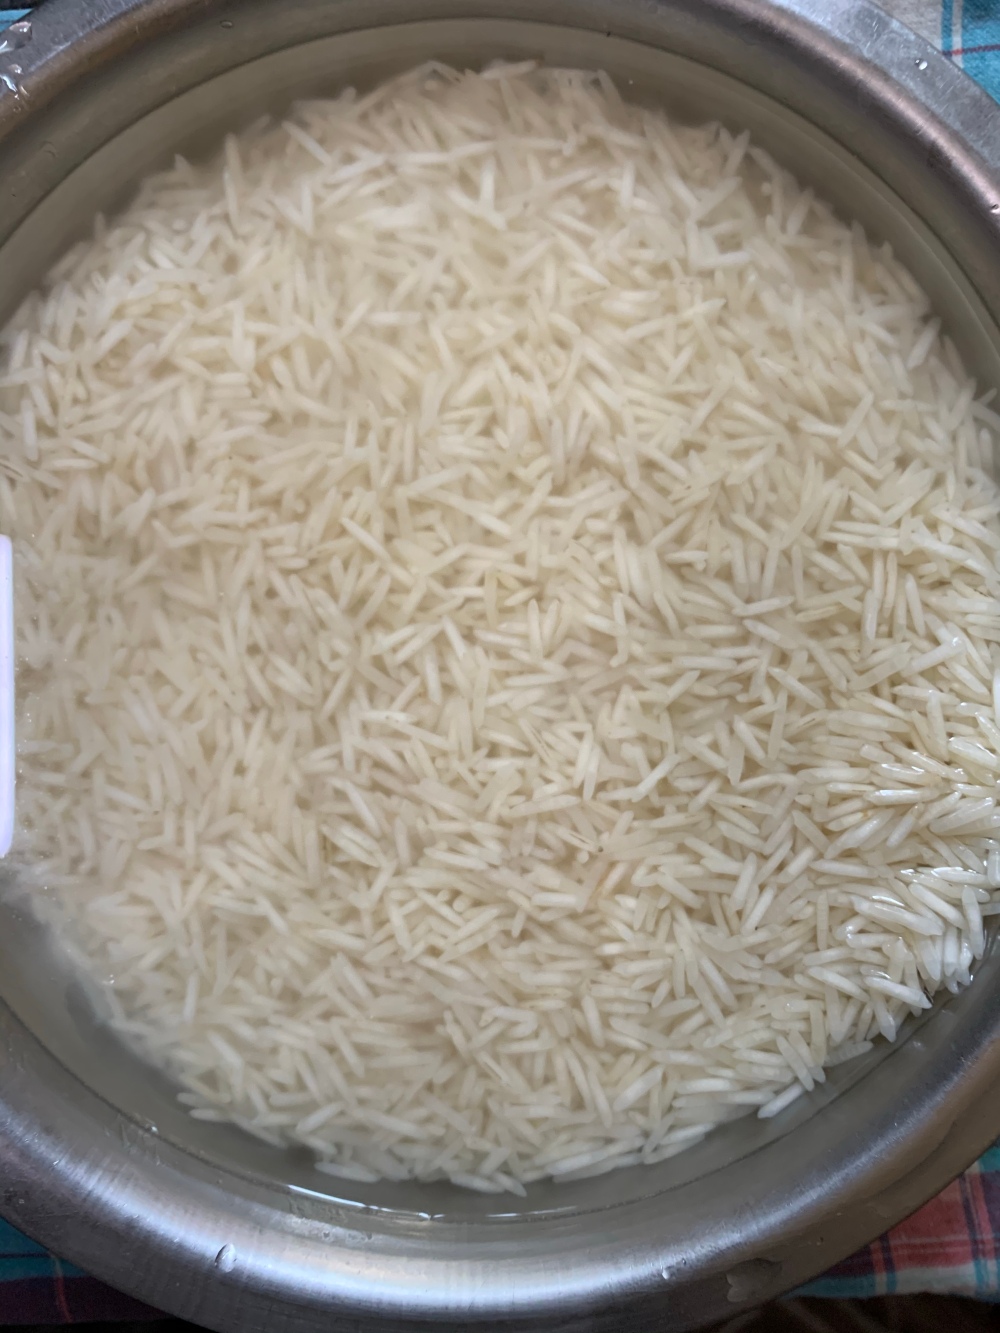
Step 2: Making the rice
Take biryani rice, and them for 30 mins. Before soaking wash it thoroughly until the water looks clear.
After 30 mins, take a deep bottom vessel, add water to the brim. Add in salt, 1.5 spoons to be exact because you don’t get to add salt anytime later. Let the water boil, add in 2 spoons of ghee, and whole 3-4 elaichi, cloves, tej pata. Cover the vessel, and let it further boil. Once the water has boiled enough, and the spices have started releasing their fragrance, add in the rice minus any extra water. Check, keep stirring and checking the rice. Mine took about 20 minutes to cook. This is the crucial part. The rice should not be over or under cooked. Take a grain, and check for the sides. If the sides are soft enough to be mashed, and center is still a little hard, it’s time to switch off the flame.

Spread it out on a plate, and let it cool.
Step 3: Making the chicken
Heat a wok and add in oil. Let it heat, add in 2 medium sized onions, finely chopped. And let it brown a little. I also took 2 small potatoes, cut them into 2 each, tossed in salt and turmeric, and added them in the chicken. The potatoes get cooked in the gravy, absorbing all the gravy. Add in the marinated chicken, add a lid and let it cook. in about 20 minutes your chicken would be done. Keep opening the lid, and checking. Cook it for upto 90%. You get to decide whether you want to retain a lot of gravy or little. Mine looked like this.


Step 4: Layering
Take a deep bottomed pan.
Use ghee to layer the entire vessel. Layer the base of the vessel (I used a dekchi) with cooked aloo from the chicken, topped it with a layer of the rice. Add in ghee, kewra water, chaap masala, garam masala, rose water. Add chicken, and another layer of rice, and repeat.
I do not like beresta in my biryani. I was out of biryani masala, saffron and alu bokra. My biryani masala was reaplaced by chaap masala, and garam masala (both home made.)

Meanwhile, pre heat a tawa. Once the tawa is heated, lower the flame, add the veesel on the tawa, cover it with a lid, and add a heavy thing to allow it to cook in dum. I used the nora to add weight to the lid. Let it cook in dum for 30 minutes. Afyer that, till you eat, keep switching on the gas for 10 minutes every 30 minutes, if you have the time. If not, cut your biryani from the side to reach the base level chicken, and serve! Enjoy!


Disclaimer: I am not claiming this to be authentic. Me and my family like this version of the biryani.
